
How To Crop Images Non-Destructively In Photoshop CC
In this tutorial, we'll learn how to crop images non-destructively in Photoshop CC. We'll look at what it means to crop an image non-destructively, and we'll learn why it's such a useful and important part of a good image editing workflow.
In the previous tutorial, we learned the basics of using the Crop Tool to crop our images, either to specific sizes or aspect ratios or to any freeform shape we need. At the end of that tutorial, we looked briefly at how to crop images non-destructively. In this tutorial, we'll take a closer look at the difference between destructive and non-destructive image cropping and the benefits that non-destructive cropping has to offer.
If you're not yet familiar with the basics of cropping images, I highly recommend reading through our How To Crop Images in Photoshop CC tutorial before you continue.
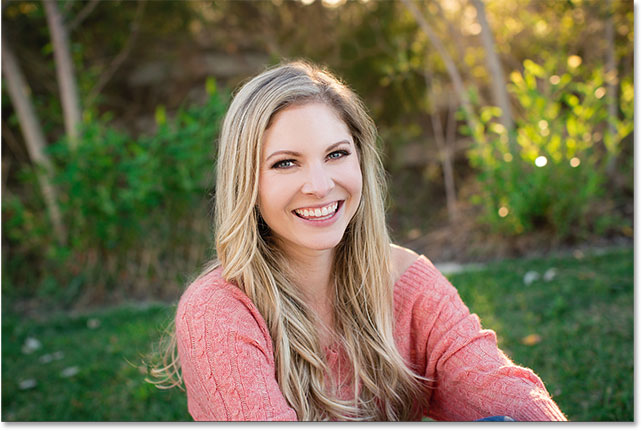
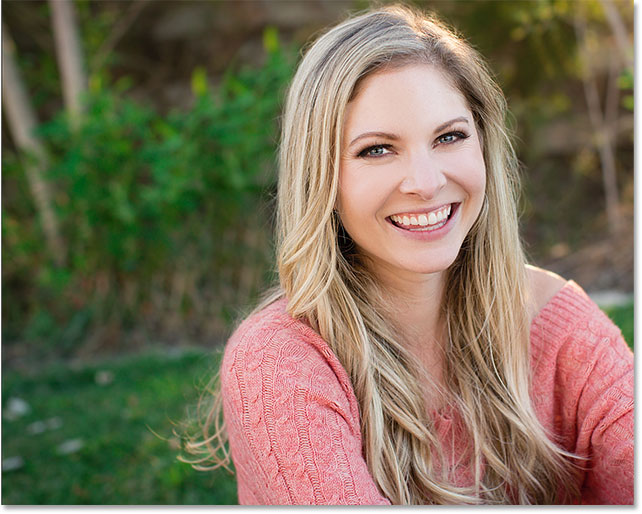
As with the previous tutorial, you can easily follow along here using any image of your own. Here's the photo I'll be working with (outdoor portrait photo from Adobe Stock):
This tutorial is part of our Photo Editing and Retouching collection. Let's get started!
I'll start by selecting Photoshop's Crop Tool from the Toolbar along the left of the screen:
Let's say, for the purpose of this tutorial, that I want to crop this image to an 8 x 10 aspect ratio so it will fit inside a standard-size photo frame. To do that, with the Crop Tool selected, I'll click on the Aspect Ratio option in the Options Bar along the top of the screen. By default, it's set to "Ratio":

This opens a list of preset aspect ratios and print sizes that we can choose from. To select an 8 x 10 aspect ratio, I'll choose 4 : 5 (8 : 10) from the list. The reason it has this weird name is because technically, an 8 x 10 aspect ratio is really a 4 x 5 aspect ratio, but since most people know it as 8 x 10, the more common name is listed beside it in parentheses:

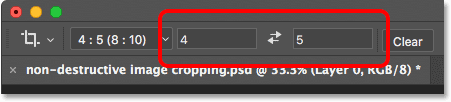
With the preset chosen, if we look at the Width and Height fields directly to the right of the Aspect Ratio option, we see that the width is now set to 4 and the height is set to 5:
And, Photoshop has reshaped the crop border to match the new settings:

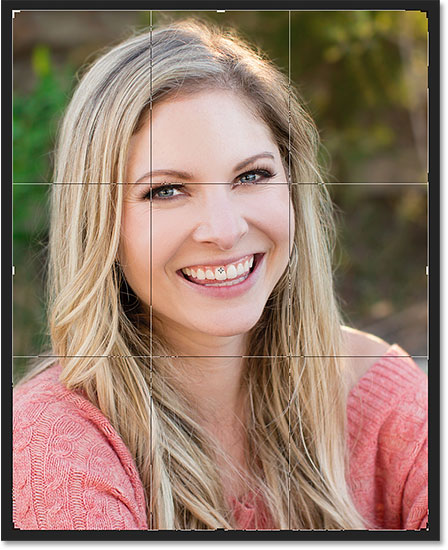
At this point, I'm not sure exactly how I want to crop this image, but I'm thinking I should crop away much of the background and focus more on the woman's face, so I'll need to resize my crop border. To do that, I'll press and hold the Alt (Win) / Option (Mac) key on my keyboard as I click on the handle at the top of the border and drag it downward.
Because I chose a specific aspect ratio in the Options Bar, Photoshop keeps the aspect ratio locked in place as I resize the crop border. By holding down my Alt (Win) / Option (Mac) key as I drag the top handle, Photoshop resizes the crop border from its center rather than just from the top:

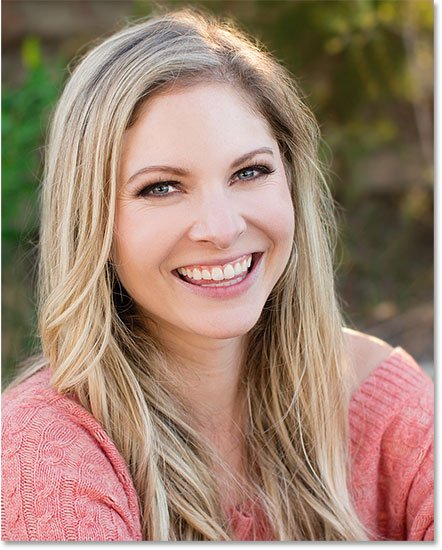
To accept the crop, I'll press Enter (Win) / Return (Mac) on my keyboard, and here's what my initial crop looks like:
So far, so good. I like the result. At least, I think I do. But the more I look at it, the more I wonder if maybe I went too far and cropped away too much of the background. That shouldn't be a problem, right? All I need to do is resize my crop border to make it larger and then re-crop my image.
To do that, I'll click on the image with the Crop Tool to make the crop border and handles visible:
Then, I'll once again press and hold my Alt (Win) / Option (Mac) key as I click on the top handle and drag it upward. This resizes the border from its center, adding additional space around the entire image:

That looks like a good amount of space, so I'll release my mouse button. But as soon as I do, something unexpected happens. Rather than seeing more of the original image, all I'm seeing in the extra space is white:
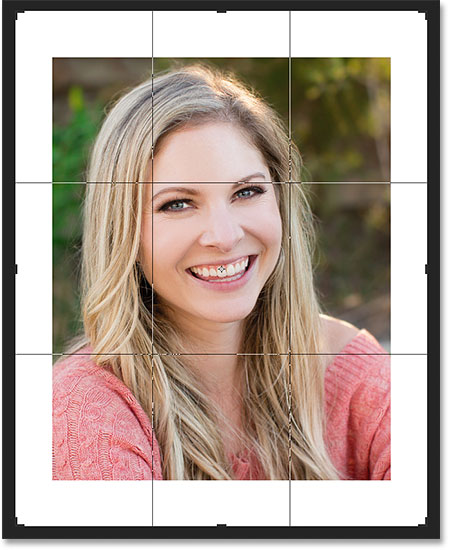
What happened to the rest of my image, and why am I seeing white in its place? Well, what happened to the image is that, by default, Photoshop permanently deletes the area we crop away, which means that the rest of the image is gone. To fill in the missing area around the original crop, Photoshop used my current Background color.
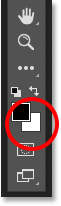
If we look at the Foreground and Background color swatches near the bottom of the Toolbar, we see that my Background color (the lower right swatch) is set to white. If it had been set to something other than white, Photoshop would have used that other color instead, but the default Background color is white:
So, that answers the second part of the question. We're seeing white around the image because Photoshop is filling the area with the current Background color. But why did Photoshop delete the cropped area in the first place?
The "Delete Cropped Pixels" Option
As I mentioned, Photoshop's default behavior is to delete the cropped area. In fact, before Photoshop CS6 came along, it wasn't just the default behavior; it was the only behavior. As soon as we cropped the image, everything we cropped away was gone for good. This is known as destructive editing because it makes a permanent change to the image.
But in Photoshop CS6, Adobe finally decided to make deleting the cropped area optional, and it did so by adding a new option for the Crop Tool called Delete Cropped Pixels. You'll find it up in the Options Bar. By default, the option is selected (checked) which is why my cropped area is now gone:
Let's quickly run through this same scenario again, but this time, before we crop the image, we'll turn off the Delete Cropped Pixels option to see what happens.
First, I'll cancel my current crop by clicking the Cancel button in the Options Bar, or by pressing the Esc key on my keyboard:

Then, to restore the image back to its original state (the way it first appeared before cropping it), I'll go up to the File menu in the Menu Bar along the top of the screen and choose Revert:

The image is now back to the way it looked when I first opened it:
I'll select the Crop Tool once again from the Toolbar:
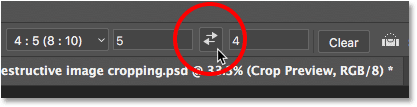
The Aspect Ratio option in the Options Bar should still be set to 4 : 5 (8 : 10). But this time, just to keep things interesting, I'll change the orientation of my crop from portrait (where the height is larger than the width) to landscape (the width is larger than the height) by clicking the two arrows between the Width and Height fields. This swaps the values, setting the Width to 5 and the Height to 4:
Photoshop once again reshapes the crop border to match my new settings:

Just as I did before, I'll resize the crop border by pressing and holding my Alt (Win) / Option (Mac) key as I click and drag the top handle downward:

Unchecking "Delete Cropped Pixels"
So far, I've done things pretty much the same as last time. I selected the Crop Tool, set my aspect ratio in the Options Bar, and then resized the crop border. But here, I'm going to make one very important change. I want to crop the image non-destructively this time, so before I actually commit the crop, I'm going to uncheck the Delete Cropped Pixels option in the Options Bar:
With Delete Cropped Pixels unchecked, I'll press Enter (Win) / Return (Mac) on my keyboard to crop the image, and here's my result:

The Advantages Of Non-Destructive Image Cropping
So far, nothing seems different. There's no way to tell just by looking at the image that it was cropped non-destructively. But, what if we need to edit the crop at this point? This is where the advantages of non-destructive image cropping are easy to see.
Let's say that, once again, I think I've cropped away too much of the background, which means I'll need to resize my crop border. When I tried this the first time, back when the Delete Cropped Pixels option was turned on, I didn't have much luck. But let's see what happens this time.
I'll click on the image with the Crop Tool to bring back my crop border and handles, and right away, we see a big difference. The entire image re-appears outside the crop border, as if I had never committed the crop at all:

The reason is that, with the Delete Cropped Pixels option turned off (unchecked), rather than permanently deleting the cropped area, Photoshop simply hides it from view. This is why it's called non-destructive cropping. No permanent change is ever made to the image. Photoshop simply hides the area we don't want to see.
Since nothing was actually deleted, we can easily go back and resize the crop border. I'll make the border larger by clicking on the bottom handle and dragging it downward:

Then, I'll reposition the image inside the crop border by clicking inside the border with the Crop Tool, keeping my mouse button held down, and dragging to the right. This moves the woman over to the right side of the frame:

I'll make sure I still have the Delete Cropped Pixels option unchecked in the Options Bar so that I'm once again cropping the image non-destructively:
Then, I'll press Enter (Win) / Return (Mac) on my keyboard to commit this second crop, and here's the result:
Now that I've cropped the image again, I'm not sure I like the composition. It might look better if the woman was positioned on the left side of the frame rather than on the right.
We've already seen one advantage of non-destructive image cropping, which is that we can easily go back and resize the crop border. Another big advantage is that, since the actual image is larger than the viewable area of the canvas, we can move the image around within the frame!
To move the image, select Photoshop's Move Tool from the top of the Toolbar:
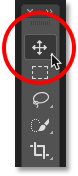
Then, with the Move Tool selected, simply click on the image with the Move Tool, keep your mouse button held down, and drag the image around to reposition it. Here, I'm moving the woman over to the left:

Keep in mind that even though Photoshop did not delete any of your original image, the image itself is only so big. If you drag too far while repositioning it, you'll run out of image, in which case you'll start seeing a checkerboard pattern like the one along the right of my frame (in the screenshot below).
The checkerboard pattern is how Photoshop represents transparency, which means there's nothing to see in that area. If that happens, drag the image back in the opposite direction until the checkerboard pattern is gone:

I'll move the image back towards the right, and here's my final result after cropping, re-cropping and repositioning the image, all non-destructively:

Showing The Cropped Area
As we've learned, by unchecking the Delete Cropped Pixels option in the Options Bar, Photoshop simply hides, rather than deletes, the cropped area. Since the cropped area is still there, we can always show it again if we need to.
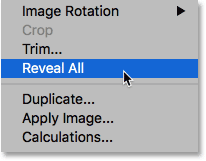
To view the entire, uncropped image, go up to the Image menu at the top of the screen and choose Reveal All:
Photoshop will resize the canvas area to fit the entire image within it:
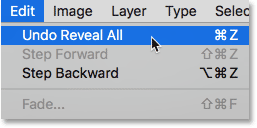
To then return to the cropped version, go up to the Edit menu at the top of the screen and choose Undo Reveal All, or press Ctrl+Z (Win) / Command+Z (Mac) on your keyboard:
And now we're back to the cropped version, with the cropped area hidden once again: