How To Use The Navigator Panel In Photoshop
Learn how to use Photoshop's Navigator panel to zoom and pan your images, and why it's perfect for navigating around an image when you're zoomed in! Part 3 of our Image Navigation chapter. For Photoshop CC and CS6.
In this third tutorial in our series on navigating images in Photoshop, we'll learn how to use the Navigator panel. So far, we've learned how to zoom and pan images with the Zoom Tool and the Hand Tool. We've also learned how to change the zoom level of an image from the document window. Photoshop's Navigator panel is a bit like having the Zoom Tool, the Hand Tool and the document window all rolled into one. The Navigator panel lets us view our image and change its zoom level, just like we can in the document window. We can manually zoom in on any part of our image from the Navigator panel, just like we can with the Zoom Tool. And, the Navigator panel lets us pan the image around, just like the Hand Tool.
But the best feature of the Navigator panel, and the main reason why it's so useful, is that it lets us easily keep track of where we are in the image while we're zoomed in. Let's see how it works! I'll be using Photoshop CC but this tutorial is fully compatible with Photoshop CS6.
This is lesson 3 of 7 in Chapter 4 - Navigating Images in Photoshop. Let's get started!
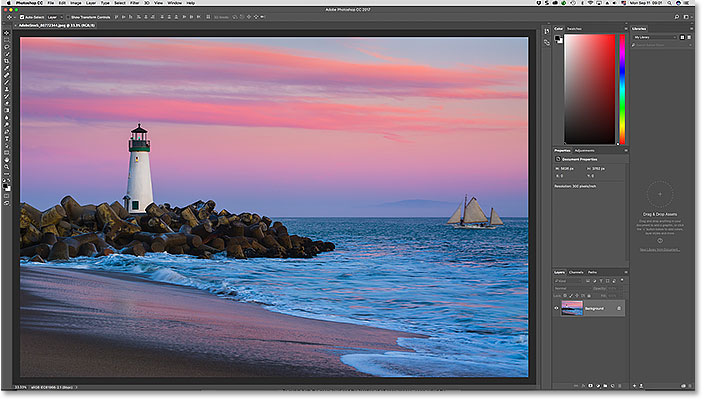
You can follow along by opening any image in Photoshop. Here's the photo I'll be using (lighthouse photo from Adobe Stock):
Opening The Navigator Panel
As we learned in the previous chapter, Photoshop uses workspaces to determine which of its many panels are displayed on your screen. The default workspace is known as Essentials. If you've only ever used the Essentials workspace, you may have never heard of the Navigator panel. That's because the Navigator panel is not included in the Essentials workspace, which means that, by default at least, it's nowhere to be found on your screen. That's okay, though, because Photoshop lets us open any panel we need, any time we need it.
All of Photoshop's panels can be opened from the Window menu in the Menu Bar along the top of the screen. To open the Navigator panel, go up to the Window menu and choose Navigator from the list. If you see a checkmark next to a panel's name, it means that the panel is already open. In my case, there's no checkmark next to the Navigator panel, so I'll select it to open it:

The panels that are open in Photoshop are located in columns along the right of the interface. By default, Photoshop docks the Navigator panel into the small, narrow column on the left, where the panels appear only as icons. The Navigator panel's icon looks like a ship's steering wheel. You can open (expand) or close (collapse) the panel by clicking on its icon:

Resizing The Navigator Panel
At its default size, the Navigator panel isn't very useful, but we can easily make it bigger. To resize the panel, click on its lower left corner and drag it outward. You can make the Navigator panel as large as you like, but of course you'll want to leave room to see your image in the document window. If you're working with two monitors, you can move the Navigator panel to the second monitor and resize it to fill the entire screen. In my case, I'll make it big enough so that it's easy to see my image inside of it:

The Preview Area And The View Box
The most obvious feature of the Navigator panel is the image preview area. The preview area shows us the entire image, even when we're zoomed in. We'll see why that's important in a moment. Notice that the preview area is surrounded by a thin, red border. This is known as the View Box. The View Box represents the section of the image that we're currently seeing in the document window. When we first open an image, Photoshop fits the entire image on the screen. So, since we can see the entire image, the entire image in the Navigator panel is surrounded by the View Box:

Viewing The Current Zoom Level
Just as we can view the current zoom level of the image in the lower left corner of the document window, we can also view it in the lower left of the Navigator panel. Here, the box is showing that I'm seeing my image on screen at the 33.33% zoom size. We'll come back to this zoom level box a bit later:

Changing The Zoom Level With The Slider
Let's see what happens with the View Box in the preview area when we change the zoom level of the image. One way to change the zoom level from the Navigator panel is by using the slider. You'll find the slider along the bottom of the panel. Drag the slider to the right to zoom in, or to the left to zoom out:

Here, I'm zooming in by dragging the slider to the right. We can see that I've zoomed in on my image in the document window. But, notice that the preview area in the Navigator panel is still showing the entire image, as if I had not zoomed in at all:

A Closer Look At The View Box
The way the Navigator panel works is that the preview area always shows the entire image, no matter the zoom level. The View Box, on the other hand, is different. It shows us which part of the image we're seeing in the document window at the current zoom level. Earlier, when the entire image was visible on the screen, the View Box surrounded the entire image. But now that I've zoomed in, and the image is now too big to fit on the screen, the View Box has resized. It now surrounds only a smaller section in the center of the image. The area inside the View Box is the area that's visible in the document window at my current zoom level. Everything outside the View Box now extends off the screen:

Panning The Image With The View Box
The View Box in the Navigator panel makes it easy to tell which part of the image we're looking at when we're zoomed in. But there's more to the View Box than just that. We can also use it to change which part of the image we're seeing. To pan, or move, to a different part of the image, simply click inside the View Box and drag it to a new location. The new location becomes the area you're seeing in the document window. I'll drag the box over to the right, away from the lighthouse, so that the ship on the far right of the photo is within the View Box boundaries:

After moving the View Box, the ship is now visible in the document window, while the lighthouse has been moved off to the side:

The Zoom In And Zoom Out Buttons
We've seen that we can zoom in and out of the image using the slider along the bottom of the Navigator panel. Another way to zoom in and out is with the Zoom In and Zoom Out buttons on either side of the slider. Click the Zoom In button (the big mountain range) on the right to zoom in, or the Zoom Out button (the small mountain range) on the left to zoom out. Clicking the same button repeatedly will zoom you in or out further, in incremental steps. Again, the View Box resizes to show the area now visible in the document window. You can click and drag the View Box to inspect different areas of the image at your new zoom level:

Changing The Zoom Level From The Current Zoom Level Box
Earlier, we learned that we can view the current zoom level in the box in the lower left corner of the Navigator panel. We can also change the zoom level from the same box. Click inside the box to highlight the current value. Type in your new value, and then press Enter (Win) / Return (Mac) on your keyboard to accept it. If you press and hold your Shift key while pressing Enter (Win) / Return (Mac), you'll keep the value highlighted after you've accepted it. This lets you quickly enter a different zoom value without needing to first click inside the box to highlight it again. Photoshop will automatically add the % symbol, so there's no need to type it in yourself:

Changing The Zoom Level With The Scrubby Slider
For more fine-tuned control over the zoom level in the Navigator panel, use the Scrubby Slider. Hover your mouse cursor over the current zoom level in the lower left corner. Then, press and hold the Ctrl (Win) / Command (Mac) key on your keyboard. Your cursor will change into a hand with direction arrows pointing left and right. This is Photoshop's Scrubby Slider icon. Click and hold your mouse button, and then drag left or right to change the zoom level in 1% increments. Drag to the right to increase the zoom level, or to the left to decrease it. If you press and hold your Shift key as you drag (while still holding the Ctrl (Win) / Command (Mac) key), you'll change the zoom level in increments of 10%:

Manually Selecting An Area To Zoom In
The quickest and easiest way to zoom in on part of your image with the Navigator panel is to simply drag a selection around the area you need. Hover your mouse cursor over the preview area, and then press and hold the Ctrl (Win) / Command (Mac) key on your keyboard. Your cursor will change into a magnifying glass, similar to the Zoom Tool's cursor. With the Ctrl (Win) / Command (Mac) key held down, click and drag out a View Box around the area where you want to zoom in. Here, I'm dragging around the lighthouse:

When you release your mouse button, Photoshop instantly zooms in to that part of the image in the document window. In my case, the lighthouse is now front and center:

Changing The Color Of The View Box
Finally, let's learn how to change the color of the View Box. The default color is light red, but depending on your image, light red may not be so easy to see. To change the color, click on the menu icon in the upper right of the Navigator panel:
Then choose Panel Options from the menu:

In the Panel Options dialog box, click on the default Light Red and choose a different color for the View Box from the list. Or, click Custom at the top to open Photoshop's Color Picker where you can choose any color you like. Click OK when you're done to accept it and close the dialog box:

Where to go next...
And there we have it! In the next tutorial in this series, we'll learn how a new feature in Photoshop CC known as Overscroll lets us unlock our image from the document window so we can scroll at any zoom level!