Blend Photos to Create a Movie Poster in Photoshop
In this tutorial, I show you how easy it is to blend images like a movie poster with Photoshop! We'll start by moving both of our images into the same document and positioning them where we need them. Then we'll blend the two images together using a layer mask. We'll help the images blend seamlessly together by adding a texture, converting the effect to black and white, and then colorizing it with our own color. And finally, we'll boost the contrast to create our final "movie poster"effect. I'll be using Photoshop CC but every step is fully compatible with Photoshop CS6.
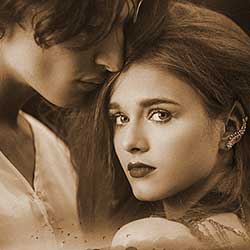
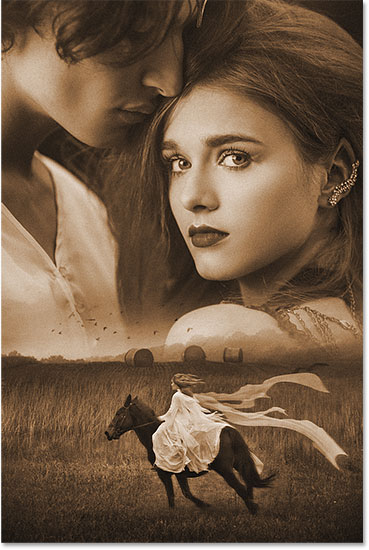
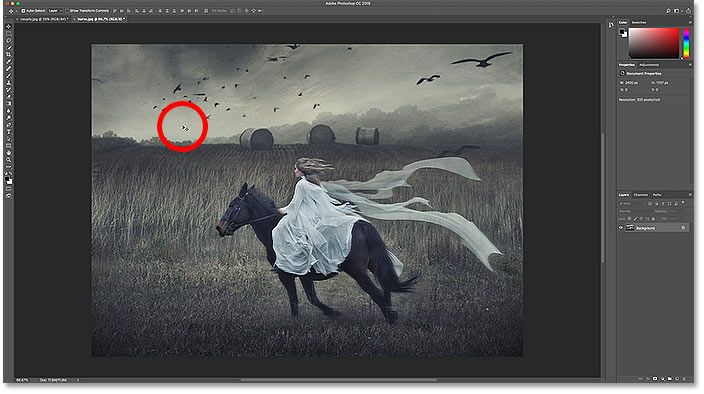
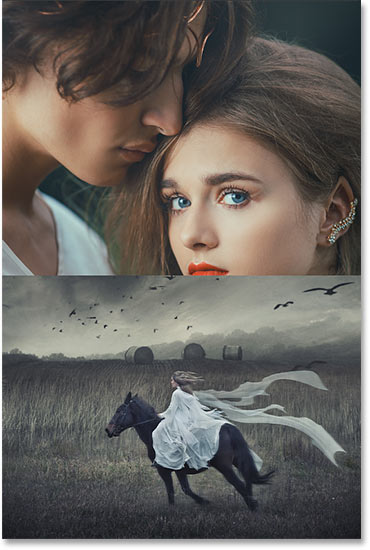
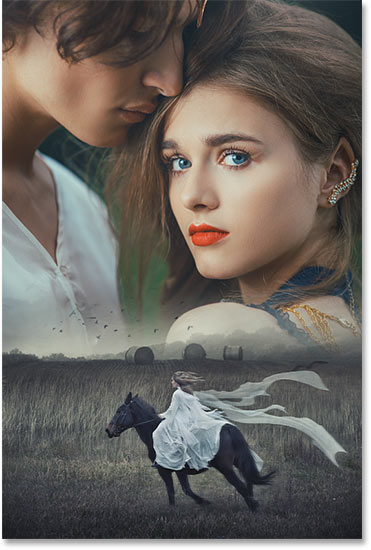
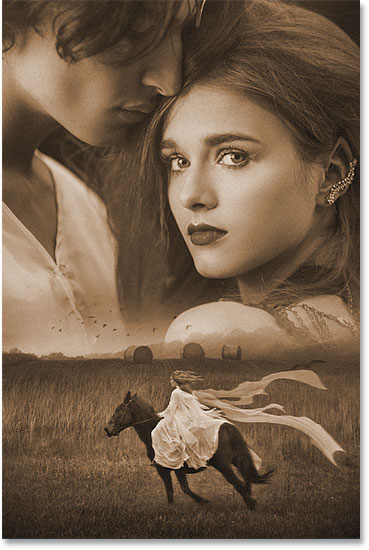
Here's what the final result will look like when we're done:
Let's get started!
How To Blend Images Like A Movie Poster
Step 1: Open your images
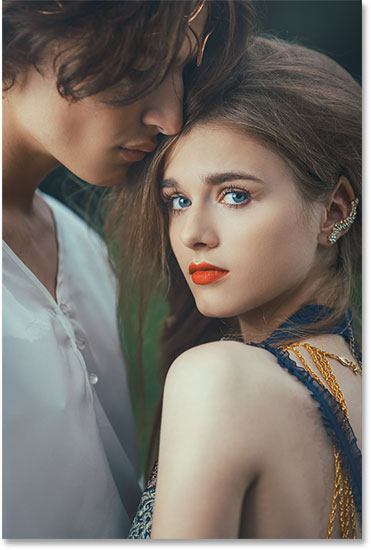
To begin, open the images you want to blend together. Here's the first image I'll be using:
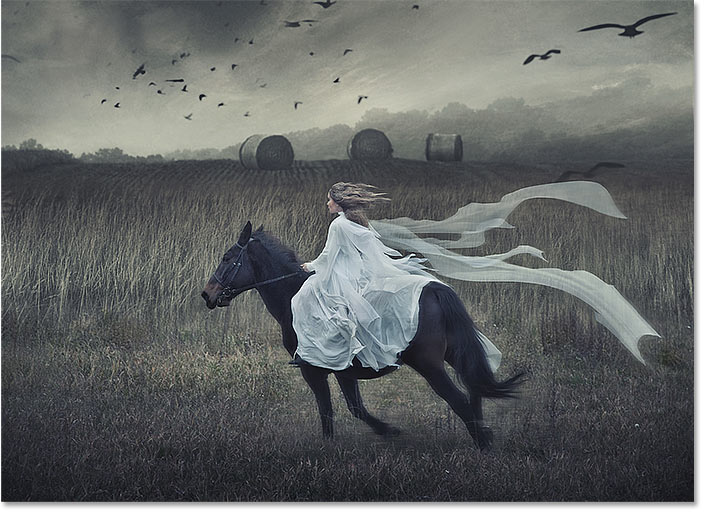
And here's my second image. Both images were downloaded from Adobe Stock:
Step 2: Move both images into the same document
At the moment, each image is in its own separate document. We need to move them into the same document. And the easiest way to do that is to drag an image from one document to another.
Select the Move Tool from the Toolbar:

Click on your image:
And then drag it up and onto the tab of the other document. Keep your mouse button held down and stay on the tab until Photoshop switches to the other image:
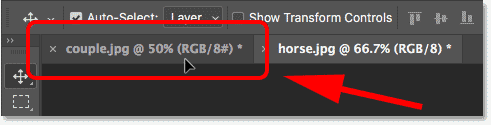
Then press and hold your Shift key and drag down into the document. Release your mouse button and Photoshop drops the image into place. The Shift key centers the image within the document:
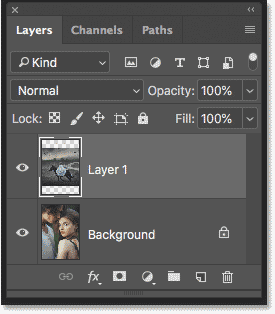
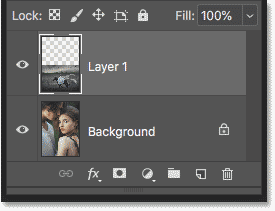
If we look in the Layers panel, we see both images, each on a separate layer, now in the same document:
Step 3: Resize and move the image
At the moment, my horse image is too wide to fit within the other image, so I need to resize it. And I also want to move it from the center down to the bottom. I can do both of those things with Photoshop's Free Transform command.
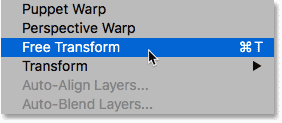
To select it, go up to the Edit menu in the Menu Bar and choose Free Transform:
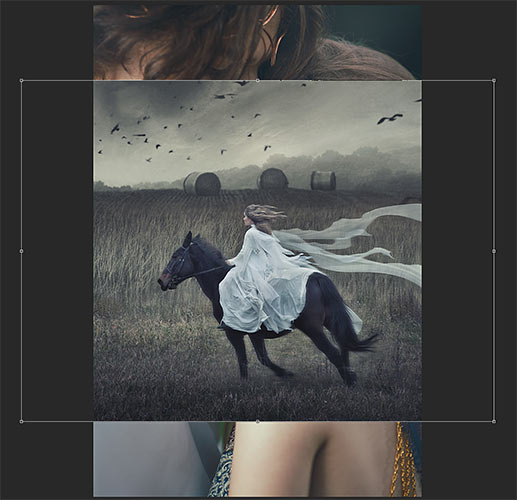
This places the Free Transform box and handles around the image:
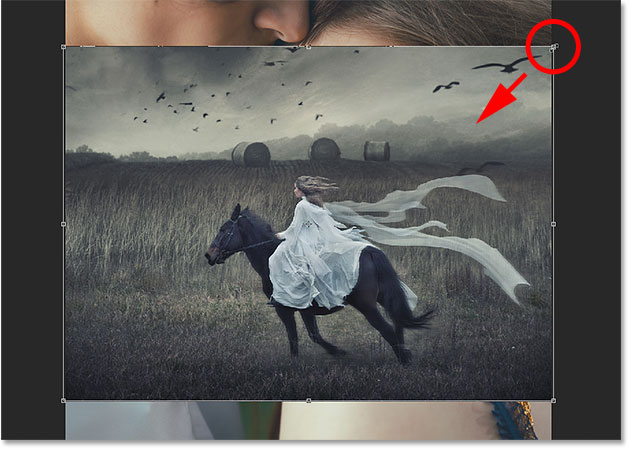
Resizing the image
To resize it, press and hold your Shift key, along with the Alt (Win) / Option (Mac) key, as you click and drag any of the corner handles. The Shift key locks the aspect ratio of the image, and the Alt / Option key lets you resize the image from its center:
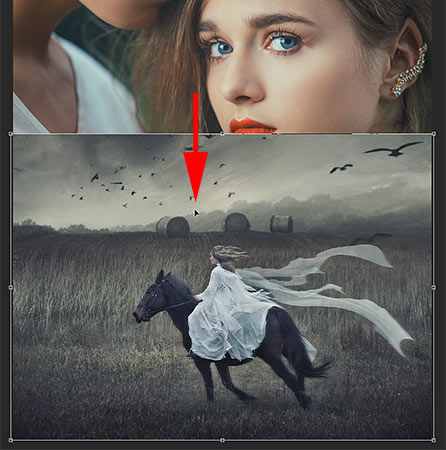
Moving the image
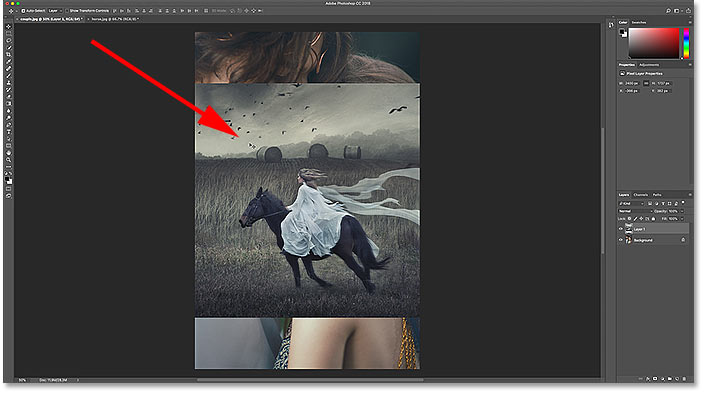
Then, to move the image down to the bottom, I'll click inside the Free Transform box and I'll drag it into place. Hold your Shift key as you drag to make it easier to move straight down:
To accept it, press Enter (Win) / Return (Mac):
Step 4: Move the other image (optional)
I also want to move the other image higher up in the document. But in the Layers panel, we see that the image is currently sitting on the Background layer, and Photoshop won't let us move an image while it's on the Background layer:
Unlocking the Background layer
To fix that, in Photoshop CC, click on the lock icon. In Photoshop CS6, press and hold Alt (Win) / Option (Mac) and double-click on it:
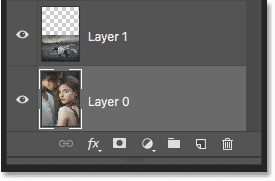
This unlocks the Background layer and renames it "Layer 0":
Moving the image
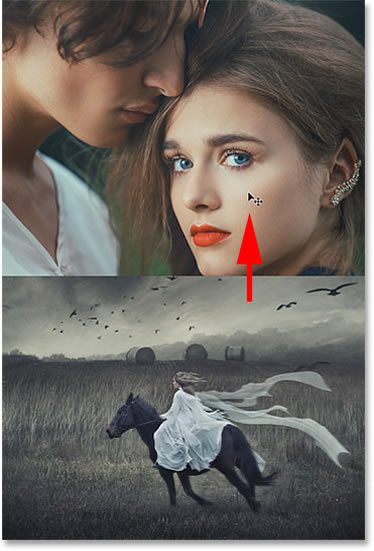
Make sure "Layer 0" is selected, and then with the Move Tool still selected, click on the image and drag it up and into place. Again, hold Shift as you drag to make it easier to drag straight up:
Step 5: Add a layer mask
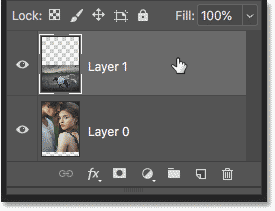
Once the images are in place, we can blend them together. And we'll do that using a layer mask. Back in the Layers panel, click on the image on the top layer to select it:
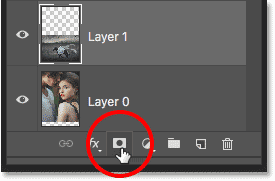
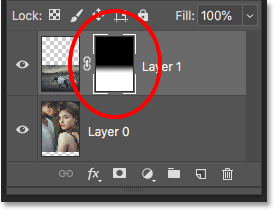
Then click the Add Layer Mask icon:
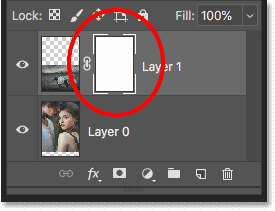
A layer mask thumbnail appears on the top layer:
Step 6: Draw a black to white gradient on the mask
In the Toolbar, select the Gradient Tool:
Then in the Options Bar, make sure the Black, White gradient is selected:
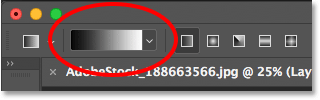
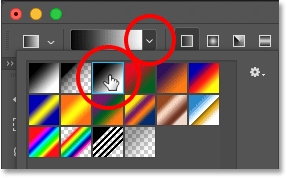
If it isn't, click on the arrow next to the gradient swatch, and then double-click on the Black, White gradient's thumbnail (third from the left, top row) to select it:
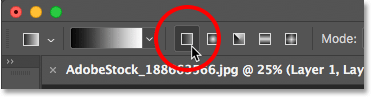
Also in the Options Bar, make sure that the gradient type is set to Linear:
Then, click in the document and drag out a black to white gradient across the spot where you want the two images to blend together. In my case, I'll click just below the top of my horse image to set the starting point for the gradient. Then, to create a smooth transition between the two images, I'll drag down to the top of the hill:
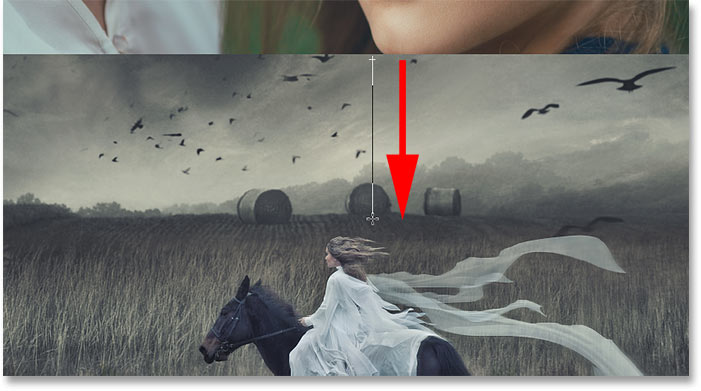
Release your mouse button, and Photoshop draws the gradient on the layer mask and blends the images:
Back in the Layers panel, we see our gradient in the layer mask thumbnail. You can learn more about layer masks, and other ways to blend images in Photoshop, in my blending images tutorial:
Step 7: Merge the layers
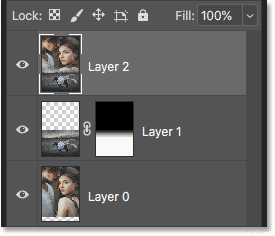
Next, we need to merge the two layers onto a new layer above them. Make sure the top layer is still selected. Then, on a Windows PC, press Shift+Ctrl+Alt+E on your keyboard. On a Mac, press Shift+Command+Option+E. This merges both layers onto a new layer:
Step 8: Add noise
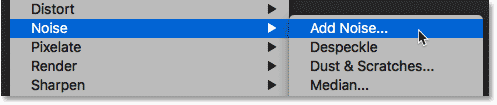
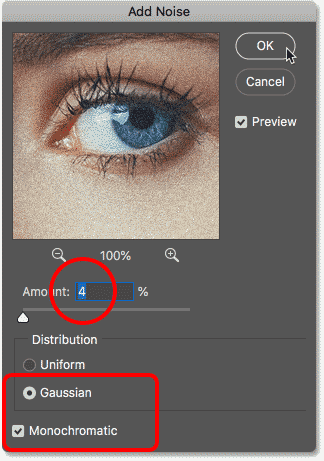
To help the images blend more seamlessly together, we'll add a subtle texture. Go up to the Filter menu, choose Noise, and then choose Add Noise:
In the Add Noise dialog box, set the Amount to around 2 to 4% depending on the size of your images. Choose Gaussian and Monochromatic, and then click OK:
If I zoom in closer, we see how the texture helps to unify the two images:
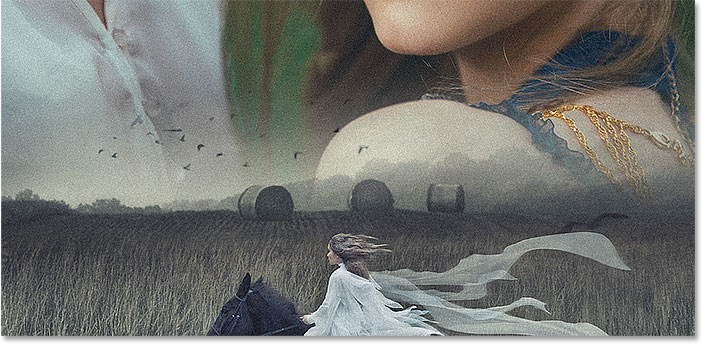
You can toggle the texture on and off to compare the results by clicking the visibility icon for the merged layer in the Layers panel:
Step 9: Convert the images to black and white
The only problem at this point is that the colors in the images don't match. Let's fix that by converting the images to black and white, and then colorizing them with our own color.
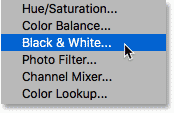
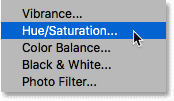
In the Layers panel, click the New Fill or Adjustment Layer icon:
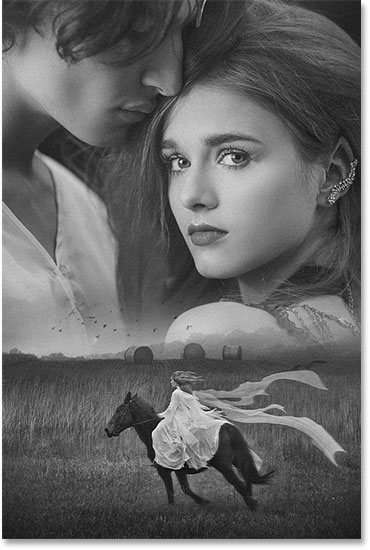
Then choose Black & White form the list:
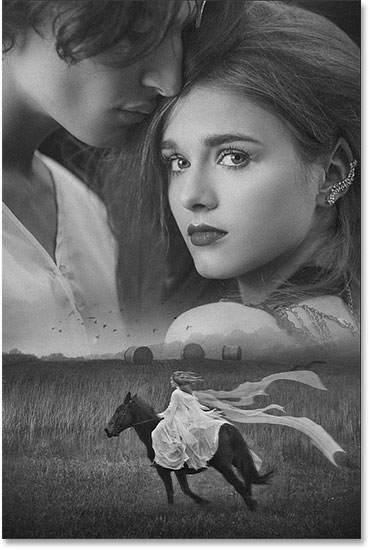
This instantly converts the images to black and white:
Customizing the black & white conversion
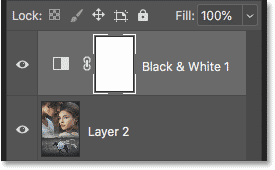
In the Layers panel, we see the new Black & White adjustment layer:
And the controls for the adjustment layer appear in the Properties panel. To customize the black and white version, start by clicking the Auto button:
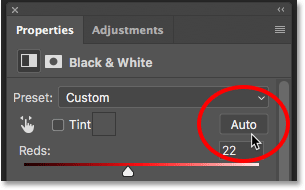
Photoshop will choose its own settings for the effect:
To customize it further, click and drag the color sliders to adjust the brightness of different parts of the image based on their original color. For example, dragging the Reds slider will lighten or darken any areas that contained red. Dragging the Yellows slider will affect areas that contained yellow, and so on:
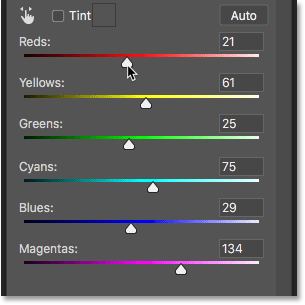
Continue dragging the sliders until you're happy with the results:

Step 10: Colorize the effect
So now that we've removed the original colors, let's colorize the effect with our own color. And the easiest way to do that is with a Hue/Saturation adjustment layer.
Back in the Layers panel, click again on the New Fill or Adjustment Layer icon:
And then choose Hue/Saturation:
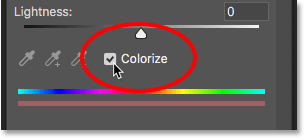
In the Properties panel, select the Colorize option:
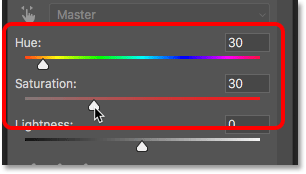
Choose a color by dragging the Hue slider. I'll set my Hue value to 30. Then set the intensity of the color with the Saturation slider. I'll again set mine to 30:
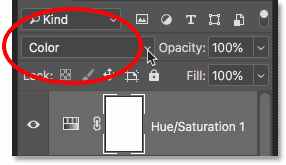
Once you've chosen your color, go back to the Layers panel and change the blend mode of the Hue/Saturation adjustment layer to Color. This way, we're affecting only the colors in the image, not the brightness values:
And here's the result:
Step 11: Increase the contrast
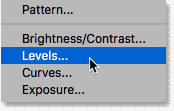
Finally, if you need to boost the contrast in the effect, click again on the New Fill or Adjustment Layer icon in the Layers panel:
And this time, choose Levels:
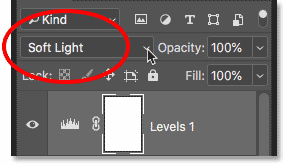
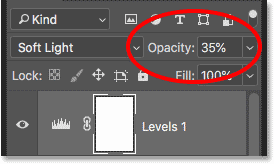
Change the blend mode of the Levels adjustment layer from Normal to Soft Light:
This instantly increases the contrast:
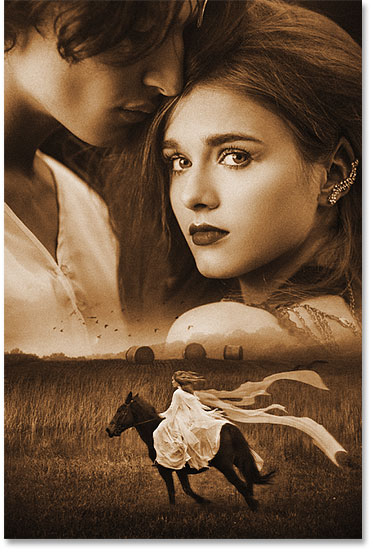
If the contrast is too strong, just lower the opacity of the Levels adjustment layer to fine-tune the results. I'll lower mine to 35%:
And here, after lowering the opacity, is my final result:
And there we have it! That's how to easily blend photos like a movie poster with Photoshop! Visit our Photo Effects section for more tutorials. And don't forget, all of our Photoshop tutorials are now available to download as PDFs!
Subscribe to our newsletter
Be the first the know when new tutorials are added!