
Adding Your Contact And Copyright Info To Your Photos With Photoshop
Written by Steve Patterson. There's no denying that the internet has brought us all closer together, and that it's made this world of ours a much smaller place. It's exciting to live in an age where anyone, anywhere, can instantly share their digital photos with family and friends, or if they choose, with millions of complete strangers, simply by emailing their photos or uploading them to personal or social media websites.
If you're a professional photographer, though, who earns a living from your images or uses them to attract new clients, uploading them to the web for all to see isn't enough. You also need to make sure your contact and copyright information is included with each image so anyone who's interested can see who owns the photo and how to contact you for more details.
Fortunately, as we'll learn in this tutorial, Photoshop's File Info command makes it easy to embed this information directly in the image file itself so no matter where its journey through cyberspace may take it, your contact and copyright information will travel right along with it.
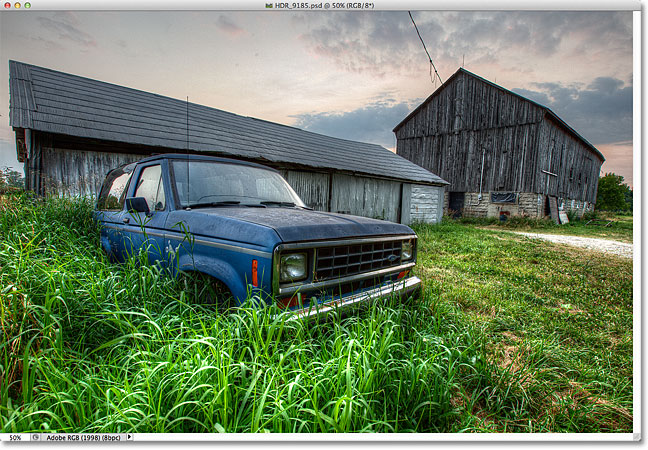
Here's a photo I have open in Photoshop that I'd like to upload to the web:
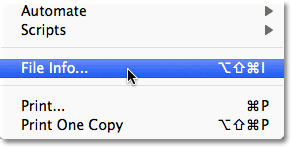
Before I do that, though, I want to add my contact and copyright information to the image. The easiest way to do that is with Photoshop's File Info command which we can get to by going up to the File menu in the Menu Bar along the top of the screen and choosing File Info:
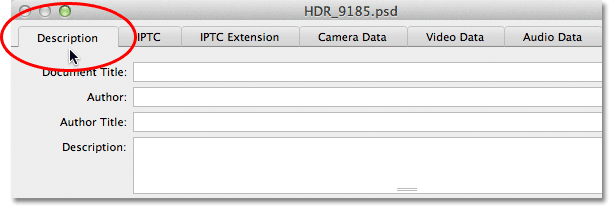
This opens the File Info dialog box. Details added to an image, like our name and copyright info, are what's known as metadata, which simply means "additional information" about something. In this case, it's additional information about our image. There's lots and lots (and lots!) of metadata than can be included in an image file, which is why, if you look along the top of the dialog box, you'll see a series of tabs with names like Description, IPTC, Camera Data, and so on. Each tab represents a different category of metadata, and each category has its own panel in the File Info dialog box. You can click on the tabs to switch between the panels (note that I'm using Photoshop CS5 here. If you're using Photoshop CS3 or earlier, you won't see the tabs. Instead, the category names will appear in a list down the left side of dialog box):

For our purposes here, the only metadata category we need to worry about is the very first one, Description. Click on its tab in the top left corner to select it (or click on its name at the top of the list on the left of the dialog box if you're using Photoshop CS3 or earlier):
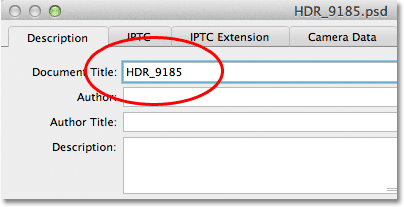
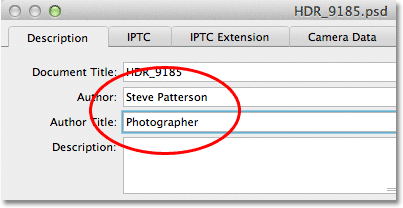
The Description panel contains fields for entering all of our important information, like our name, a description of the image, keywords to help people find the image in a search, copyright details, and so on. The very first field at the top of the list, Document Title, isn't terribly important but you may want to enter the file name of your image. In my case, the file name is "HDR_9185" but of course yours will almost certainly be different:
Below the Document Title field is the much more important Author field. This is where you enter your name as the author of the image. Below that is the Author Title field. I usually enter "Photographer" if I was the person who actually took the photo, but you can enter a different job title or just leave it blank if you prefer. All you really need here is your name in the Author field:
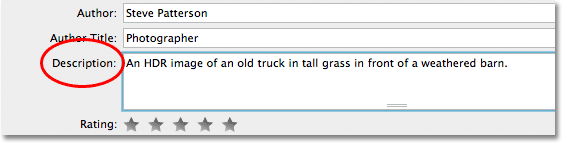
Next, enter a description of the image in the Description field. Try to be as detailed as possible since the description can make it easier for people to find your image:
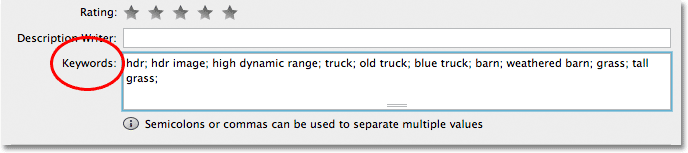
Next, move down to the Keywords field. This one is also very important because giving the image meaningful keywords will make it much easier for people to find it when searching for photos that contain one or more of those subjects. It will also make it much easier for you to find the image yourself in Adobe Bridge. Enter either a semicolon or a comma after each keyword to separate them from each other. A keyword can actually be made up of two or more words (like "weathered barn" or "high dynamic range"):
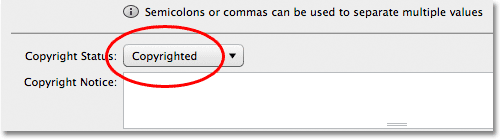
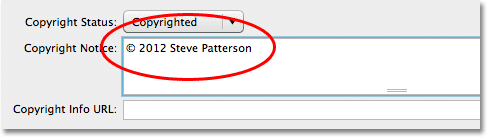
Next up is the Copyright Status option. By default, it's set to Unknown. Click on the word Unknown, or on the small arrow to the right of the word, and choose Copyrighted from the list that appears. Keep in mind that simply claiming that your image is copyrighted isn't the same as actually applying for a legal copyright, but it's usually enough to keep most honest people from using the image without your permission:
Once you've selected Copyrighted, enter your copyright information into the Copyright Notice field. You'll usually want to include the copyright symbol followed by the year and then your name. To add the copyright symbol, on a PC, press and hold your Alt key and enter 0169 on the numeric keypad of your keyboard. On a Mac, it's even easier. Just hold down the Option key and press the letter G on your keyboard:
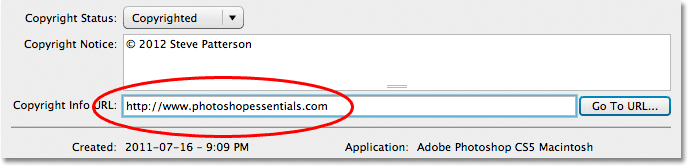
Last but certainly not least is the Copyright Info URL field. Enter the URL of the website you want people to visit to find out more information about you and your work. Once you've entered the URL, it's a good idea to click on the Go to URL button to the right of the field to make sure you've entered the website address correctly:
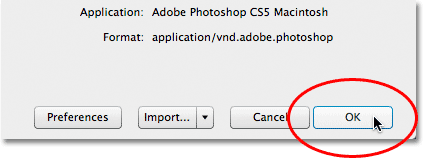
Once you've entered all of your information and have double-checked everything to make sure it's all correct, click on the OK button in the bottom right corner of the File Info dialog box to close out of it and accept the information:
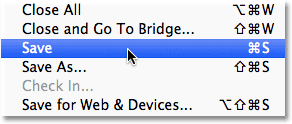
To permanently embed the new information with the image file, we need to save the image, which we can do by going up to the File menu and choosing Save. Once it's been saved, you can close out of it. The next time you re-open the image in Photoshop and open the File Info dialog box (File > File Info), you'll see all of your contact and copyright information displayed in the fields:
And there we have it! That's how easy it is to add your contact and copyright information to an image using the File Info command in Photoshop!