
Layer Opacity vs Fill in Photoshop
One of the most common questions I receive from Photoshop users, and not just beginners, is "What the heck is the difference between the Opacity and Fill options in the Layers panel? Don't they both just do the same thing?". It's a good question because in most cases, they actually are exactly the same.
Both the Opacity and Fill options control a layer's transparency. That is, they control how much the currently selected layer allows other layers below it in the document to show through. Normally, to lower a layer's transparency, we lower the Opacity value. But if the Fill option also lowers transparency, well, what's the point of having two options that do the same thing? There must be a difference, right?
Right you are! The main difference between Opacity and Fill has to do with Photoshop's layer styles. If you haven't added any effects (styles) to your layer, like a stroke, drop shadow, bevel and emboss or outer glow, you'll get the same results when lowering either the Opacity or Fill values. If, on the other hand, you do have one or more layer styles applied, Opacity and Fill behave very differently. Let's look at an example.
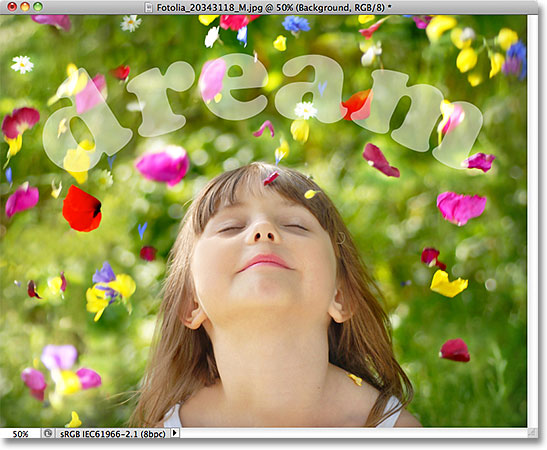
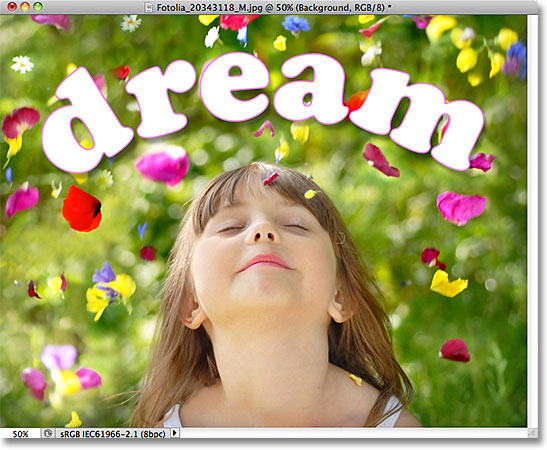
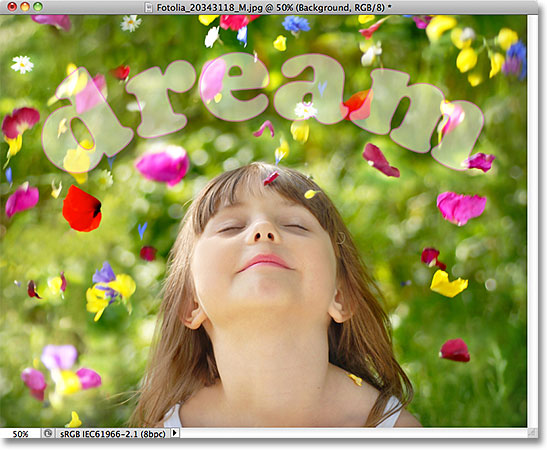
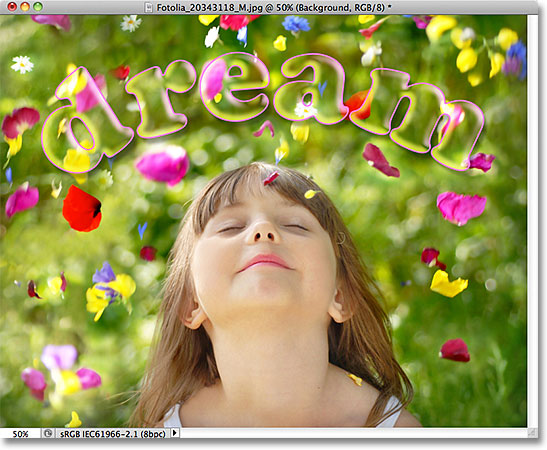
Here's an image I have open in Photoshop. I've added some simple text to it - the word "dream". The image itself, without the text, is available from the Fotolia image library:

If we look in my Layers panel, we see the photo of the girl sitting on the Background layer, and the word "dream" is on a Type layer directly above it (the arch in the word was created by adding the type on a path). I also have a copy of my Type layer above the original, but I've turned that layer off for the moment:
The Opacity option is located in the top right corner of the Layers panel, and the Fill option is directly below it. By default, both values are set to 100%, which means my text, which is on the layer that's currently selected, is completely visible in the document:
Let's see what happens if I lower the Opacity value down to 50%:
With Opacity lowered to 50%, the word "dream" in my document becomes 50% transparent, allowing the image below it to partially show through:
I'll raise the Opacity value back up to 100%, and this time, I'll lower the Fill value down to 50%:
With Fill set to 50%, the text once again becomes 50% transparent in the document, and we get the exact same result as we saw a moment ago when we lowered the Opacity value:
Opacity vs Fill With Layer Styles
So far, we've seen no difference at all between the Opacity and Fill options, but that was on a layer without any layer styles applied to it. Let's see what happens if we try a different layer. I'm going to turn off my Type layer by clicking on its layer visibility icon:
This hides the original text in the document. Then I'll click on the copy of the Type layer above it to select the layer and I'll turn the layer on in the document by clicking once again on its layer visibility icon:
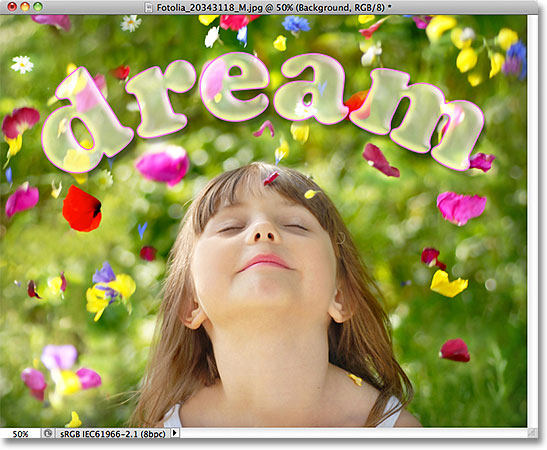
This new layer contains the exact same text as before, but with one important difference. I've added a few layer styles to it - a stroke, a faint drop shadow and a bevel and emboss effect. We can see the stroke around the letters and the drop shadow behind them. The bevel and emboss effect is hard to see at the moment with the text currently filled with solid white:
I'll twirl open the list of effects in the Layers panel by clicking on the small arrow to the right of the "fx" icon, just so we can see that I do in fact have a Drop Shadow, Bevel and Emboss and Stroke effect applied to the text:
Let's see what happens with this new layer if I lower the Opacity value down to 50%:
By lowering the Opacity value of the new layer, we've made everything on the layer 50% transparent. By "everything", I mean not only the text itself but also the layer styles applied to it. Anything and everything on the layer is now 50% transparent after lowering the Opacity value:
So far, no big surprises. I'll raise the Opacity value back up to 100%, and now I'll lower the Fill value to 50%:
Here is where we see the difference between Opacity and Fill. Lowering the Opacity value made everything on the layer 50% transparent, but by lowering the Fill value to 50%, only the text itself becomes 50% transparent. The layer styles I've applied to the text remain 100% visible! The Stroke, Drop Shadow and Bevel and Emboss effects were not affected at all by the Fill value. In fact, with the text itself now 50% transparent, we can start to see the Bevel and Emboss effect I applied to it:
Let's lower the Fill value all the way down to 0% and see what happens:
With Fill set to 0%, the text becomes completely transparent in the document, but the layer styles applied to it remain completely visible! The Fill value has no affect on the layer styles at all, allowing me to easily create an interesting text effect that would have been impossible using the Opacity value:
And that's the difference between Opacity and Fill. The Opacity value controls the transparency of anything and everything on a layer, including layer styles. The Fill value, on the other hand, affects only the actual contents of the layer, which in my case here was the text. Layer styles, which Photoshop treats as separate from a layer's actual contents, remain 100% visible and are unaffected by the Fill value.
As I mentioned at the beginning, in most cases when you need to reduce the transparency of a layer, simply lower the Opacity value. But if you have layer styles applied to it and need to keep the styles themselves 100% visible, as in the case with the text effect I created in this example, leave the Opacity value set to 100% and lower the Fill value instead.