
The New Content-Aware Crop Tool In Photoshop CC
Written by Steve Patterson. In this tutorial, we'll learn all about the new Content-Aware Crop feature in Photoshop CC 2015.5, which finally brings content-aware capabilities to the Crop Tool! To follow along, you'll need to be using Photoshop CC, and you'll want to make sure that you've downloaded the new CC 2015.5 update, released in June 2016.
What Content-Aware Crop allows us to do is add more room around our photos. When I say "more room", I don't simply mean "empty space" like we might add if we were placing a border around an image. Instead, Content-Aware Crop can actually extend the boundaries of an image by filling empty areas around a photo with matching detail. This can be extremely useful when trying to crop an image after straightening it, or when you simply need to add more space above, below, or to the sides of your photo, maybe to make room for some text or to help the image fit better in a certain layout. We'll look at examples of both of these situations in this tutorial. And, we'll learn why Content-Aware Crop works like magic in some cases, yet in others, well, not so much. Let's get started!
Straightening An ImageWithout Content-Aware Crop
Here's an image that I have open on my screen. I downloaded it from Adobe Stock:

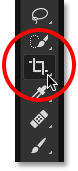
This image was obviously captured on an angle, but let's say I want to straighten it. For that, we can use Photoshop's Crop Tool which lets us both straighten and crop images at the same time. I'll go ahead and select the Crop Tool from the Toolbar along the left of the screen. I could also select the Crop Tool by pressing the letter C on my keyboard, but either way works:
I want to straighten and crop the image without losing any of the kids in the photo, but the boy in the yellow shirt on the right is very close to the edge, which could pose a problem. Let's see what happens if I try to straighten it without using the Crop Tool's new Content-Aware feature. In other words, I'll use the Crop Tool the way it has normally worked in Photoshop up until now.
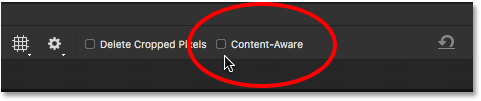
If we look in the Options Bar along the top of the screen with the Crop Tool selected, we find the new Content-Aware feature. For now, I'll leave it off by leaving this option unchecked:
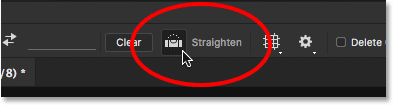
To straighten the image, I'll select the Straighten Tool in the Options Bar:
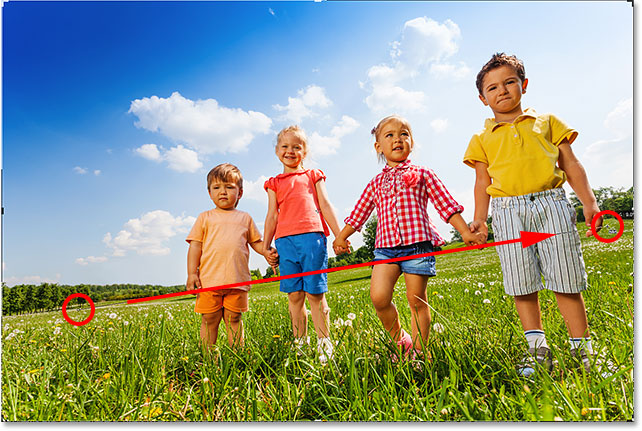
The idea with the Straighten Tool is to draw a straight line across something in the image that should be straight, either vertically or horizontally. Photoshop will then use that line to figure out how much it needs to rotate the image in order to straighten it. For an outdoor photo like the one I'm using here, ideally I would be able to draw a straight line across the horizon in the background. In this case, though, there really isn't an obvious horizon line thanks to the rolling hills, so I'll need to eyeball it.
I'll start by clicking with the Straighten Tool just below the trees in the lower left of the photo. Then with my mouse button still down, I'll drag diagonally over to the right, again just below the trees. An angle of around 9° should work:
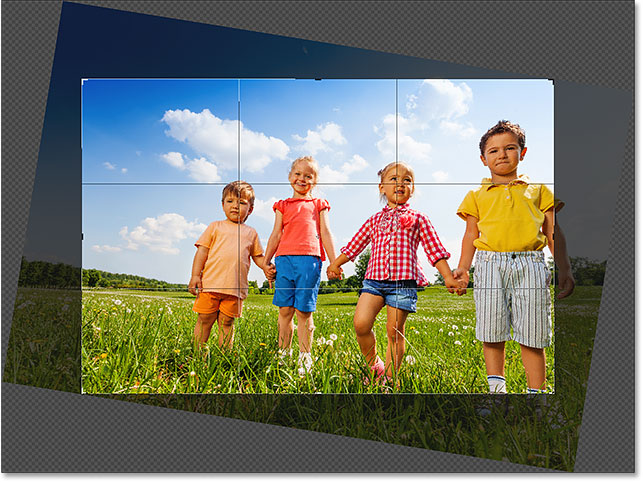
I'll release my mouse button, at which point Photoshop straightens the photo and draws a cropping border around the image. But notice how much of the image falls outside the crop area. That's because, in order to straighten the image, Photoshop needed to rotate it, and rotating it added a whole bunch of empty space around the photo (represented by the checkerboard pattern that we see in the corners of the document).
Photoshop won't extend the crop area into the empty space (since we'd end up with empty space in the image, and that wouldn't make sense). It will only extend the cropping border to the edges of the photo itself. At least, this is how things used to work before Content-Aware was added:
I'll accept the crop by pressing Enter (Win) / Return (Mac) on my keyboard, and look what's happened. Remember when I mentioned that the boy in the yellow shirt on the right was too close to the edge? Well, after straightening and cropping the image, part of him has now fallen completely off the edge! There was no way for Photoshop to crop the image after straightening it without cutting his arm and feet out of the photo:

Straightening An Image With Content-Aware Crop
Let's try the same thing again, but this time with the Crop Tool's new Content-Aware feature turned on. I'll undo my initial crop here by going up to the Edit menu in the Menu Bar along the top of the screen and choosing Undo Crop, or by pressing Ctrl+Z (Win) / Command+Z (Mac) on my keyboard:
This returns the image back to its original state:
I still have the Crop Tool selected, but if I didn't, I could grab it from the Toolbar, or I could press the letter C to quickly select it with the keyboard shortcut:
This time, I want to enable Content-Aware in the Options Bar, so I'll click inside its checkbox:
Then, I'll once again select the Straighten Tool. Or, as long as we have the Crop Tool active, we can temporarily access the Straighten Tool simply by pressing and holding the Ctrl (Win) / Command (Mac) key on the keyboard:
Just as before, I'll click and drag out a diagonal line with the Straighten Tool from left to right just below the trees in the background so Photoshop can use this line to straighten the image for me:
I'll once again release my mouse button, but this time, with Content-Aware turned on, we get a very different result. Rather than limiting the cropping area to just the image itself, Photoshop has actually extended it into some of the empty space in the corners:
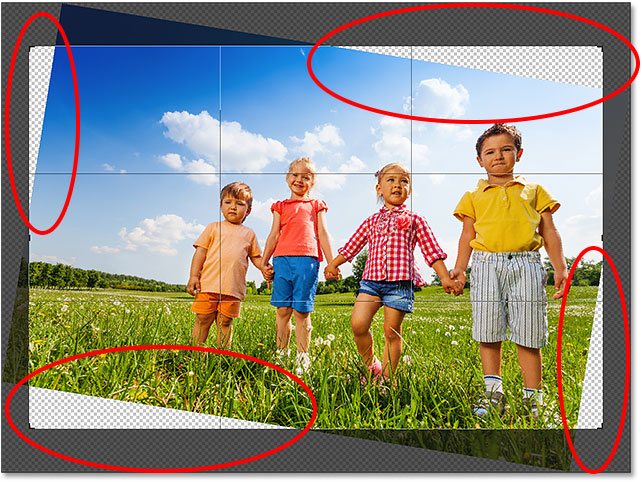
Why is Photoshop suddenly okay with the idea of adding empty space to the image? The reason is that it's not actually going to add empty space. Instead, with Content-Aware enabled, Photoshop can use the image detail around those empty areas in the corners to figure out how to fill in those areas with similar detail. If there's lots of grass around the area, it can fill in the empty space with more grass. If there's blue sky, it can fill the space with more blue sky. In other words, Photoshop is now saying, "Go ahead and include those empty areas, and let me figure out what should be there".
At this point, I could grab any of the sides or corners of the cropping box and extend them out even further into the empty area, but keep in mind that the more we ask Photoshop to figure out on its own, the greater the risk that it will mess things up (just like the rest of us). How far you can push the Content-Aware feature will really depend on the image. Generally, I've found that for the best results, try not to extend the cropping box much beyond the initial size that Photoshop suggests. Again though, it will depend on your specific image.
The real benefit for my photo here is that, thanks to Content-Aware giving me a larger crop area, the boy on the right won't lose any of his limbs when I crop it. There is a tiny bit of his foot in the lower right that might be cropped away, but since it's mostly covered by the grass, I won't worry about it.
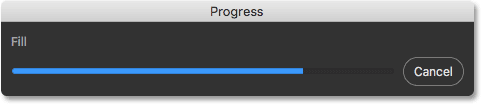
To accept the crop, I'll press Enter (Win) / Return (Mac) on my keyboard. This time, because Photoshop has a lot to figure out, we won't see instant results like we did before. Instead, we'll see a progress bar telling us how far along Photoshop is in the process:
Exactly how long it takes will depend on your image and on your computer, but in most cases, it shouldn't take more than a few seconds. And here, we see the results. Thanks to the new Content-Aware feature, not only is the boy on the right still in one piece (and with room to spare), but Photoshop did an amazing job of filling in those empty areas in the corners with new detail. There may be a few little areas here and there that will need a quick touch-up with one of Photoshop's other retouching tools like the Clone Stamp or the Healing Brush, but overall, things look great, and it's all thanks to the Crop Tool's new Content-Aware feature in Photoshop CC:

Adding More Room To A Photo With Content-Aware Crop
Content-Aware Crop isn't only useful when we need to straighten an image. It can also be used to add additional image area to the top, bottom, left or right of a photo. Here's another image that I've opened on my screen:

Let's say I need to add more room above the balloons at the top. To do that, I'll once again select the Crop Tool, either from the Toolbar or by pressing C on my keyboard:
This places the standard cropping box around the image, just like we would see without Content-Aware:

I'll need to be able to drag the top of the crop box without affecting the sides or the bottom. In other words, I don't want to be locked into any preset aspect ratio, so I'll make sure the Aspect Ratio option on the left of the Options Bar is set to Ratio, which it is by default. I'll also make sure that the Width and Height fields directly to the right of the Aspect Ratio option are both empty. If they were not empty, I'd want to click the Clear button to clear the values:
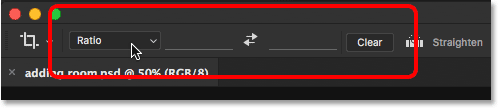
Finally, I'll make sure I have Content-Aware selected:
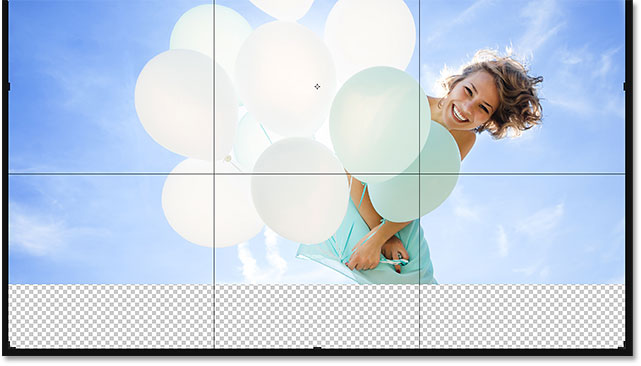
To add more room to the top of the image, I'll click on the top of the crop box and simply drag it upward:
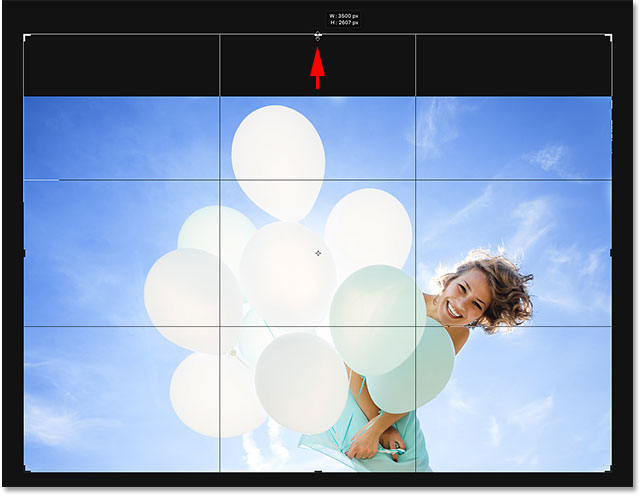
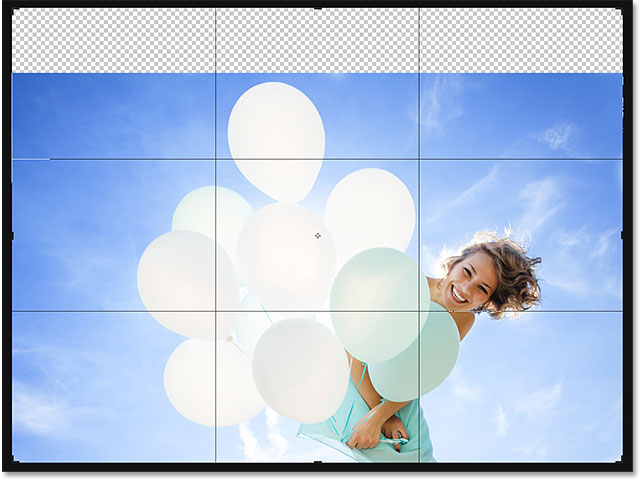
When I release my mouse button, Photoshop fills the extra room with transparency (empty space), indicated once again by the checkerboard pattern:
I'll press Enter (Win) / Return (Mac) on my keyboard to accept the crop, and let's see what happened. Without the Content-Aware feature, Photoshop would have simply added the empty space and left it at that. But with Content-Aware enabled, Photoshop looked at the surrounding area and did a great job of filling the space with more blue sky and random clouds. Again, there may be a couple of areas that I could retouch further on my own, but considering that all of this was done automatically by Photoshop, it's an impressive result:

Works Like Magic, Except When It Doesn't
The new Content-Aware Crop feature in Photoshop CC can be a real time-saver, and even a lifesaver, when we need to add more image detail around a photo. But along with knowing how it works, it's just as important to understand its limitations so we can keep our expectations in check. Content-Aware works best in areas of relatively solid color, like a clear blue sky, or in areas with lots of random detail such as grass, leaves, or a sandy beach. However, it doesn't tend to work very well in areas that are too specific. In fact, the results can look pretty weird.
For example, we saw that I was able to easily add more room above the balloons in this image, and that's because the area was fairly simple. All Photoshop needed to do was figure out how to draw more blue sky and a few wispy clouds, and the result looked great. But watch what happens if I do the same thing to the bottom of the image, below the woman's dress. I'll click on the bottom of the crop box and drag it down below the photo to add more room:

I'll release my mouse button, at which point Photoshop temporarily fills the area with empty space, just like it did with the top of the image:
Finally, I'll press Enter (Win) / Return (Mac) on my keyboard to accept the crop, and here's where things go terribly wrong. Essentially, I've asked Photoshop to figure out how to draw more of the woman's dress, and that's simply too detailed and too specific for Content-Aware to handle. Rather than even trying to figure it out, Photoshop simply copied part of her existing dress, along with her hands and part of her arms, and pasted them into the new area. It also messed up the clouds, and really, the whole thing is a disaster. So, keep in mind that Content-Aware Crop works great with simple, random details, but the more specific you get, the less likely it is that you'll end up with the results you were hoping for:

And there we have it! That's how to extend the boundaries of an image by adding matching content around the photo using Content-Aware Crop, a brand new feature in Photoshop CC 2015.5! Check out our Photo Retouching section for more image editing tutorials!